From HEXONET Wiki
Contents[hide] |
ISPAPI is a new simple command-line interface connected with your Hexonet account allowing you to deal with the system via API Commands.
Our new tool supports graphical and shell based mode and is available for LINUX, WINDOWS and MAC OS.
Download
Linux (Ubuntu and Debian)
Latest version: ISPAPI Command-line interface (Version 1.0.9, 2016-08-11)
Windows
Latest version: ISPAPI Command-line interface (Version 1.0.8, 2015-06-12)
Mac OS
Latest version: ISPAPI Command-line interface (Version 1.0.8, 2015-06-12)
The latest release includes the following fixes:
- Fixed to work with Ubuntu 16.04
- Bug fixes in the command parsing
- Clear button
- New GUI - Split screen (command and response on the same screen)
- Various usability optimizations
- Copy/Paste functionality also working on MAC OS now
Installation
Linux
Over shell
sudo dpkg -i ispapi_latest_all.deb
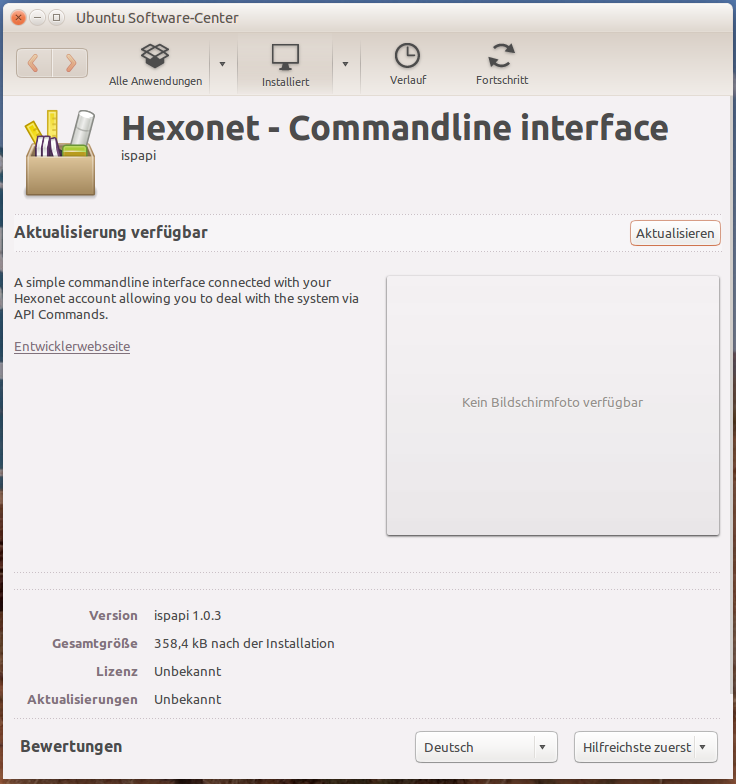
Over the Software-Center
Launch the downloaded "ispapi_latest_all.deb" file and install it.
Windows
No installation needed, unzip the ZIP file and launch "ispapi.exe".
Mac OS
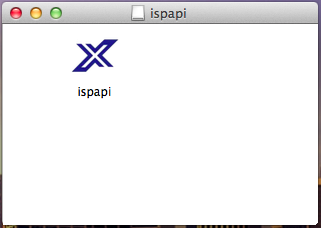
Open the "ispapi_latest.dmg" and drag and drop the "ispapi" application file where you want.
Use
Linux
Graphical mode
ispapi --gui
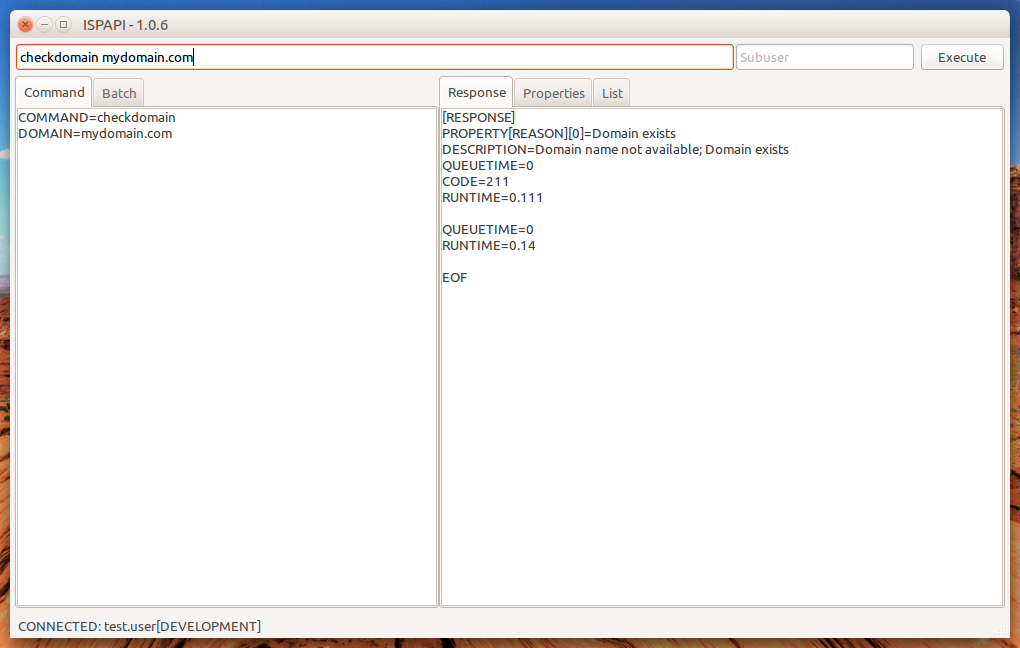
Go to „Settings“ → „API Credentials“ and fill your credentials. They will be saved in a profile file.
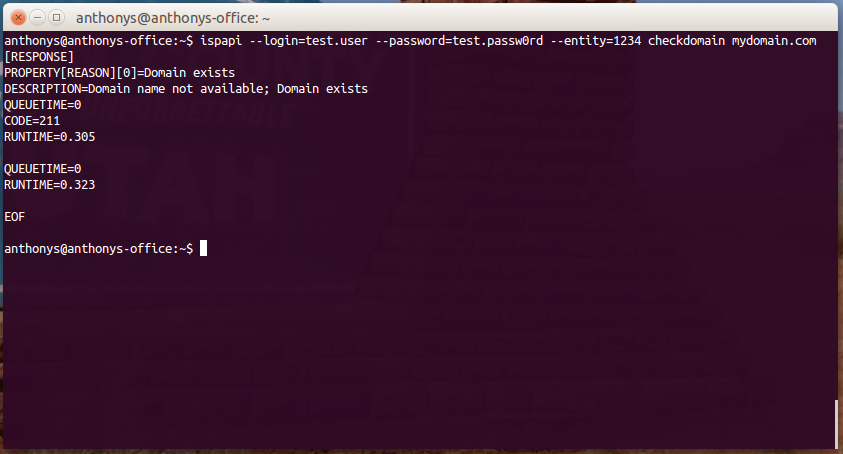
Shell based mode
ispapi --login=test.user --password=test.passw0rd --entity=1234 [command]
More details available with: ispapi --help
Example:
ispapi --login=test.user --password=test.passw0rd --entity=1234 checkdomain mydomain.com
If you don't want to send your credentials with each queries, open the Graphical mode, go to „Settings“ → „API Credentials“ and fill your credentials. They will be saved in a profile file.
Once done, the saved credentials will be used for each queries and the query will look like:
ispapi [command]
Example:
ispapi checkdomain mydomain.com
Windows
Graphical mode
Launch the "ispapi.exe" application or launch it over the command-line:
ispapi.exe --gui
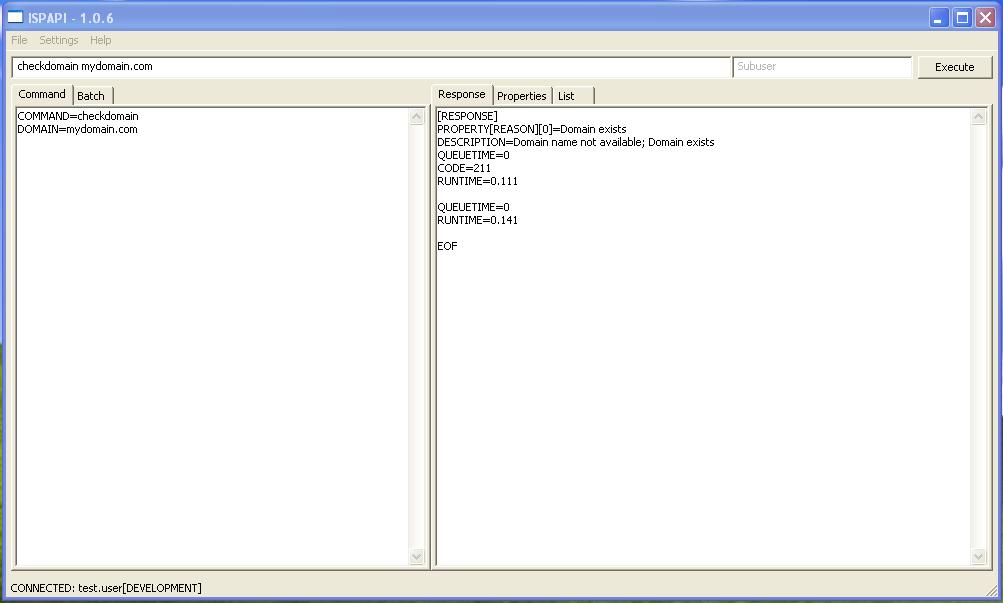
Go to „Settings“ → „API Credentials“ and fill your credentials. They will be saved in a profile file.
Shell based mode
ispapi.exe --login=test.user --password=test.passw0rd --entity=1234 [command]
More details available with: ispapi.exe --help
Example:
ispapi.exe --login=test.user --password=test.passw0rd --entity=1234 checkdomain mydomain.com
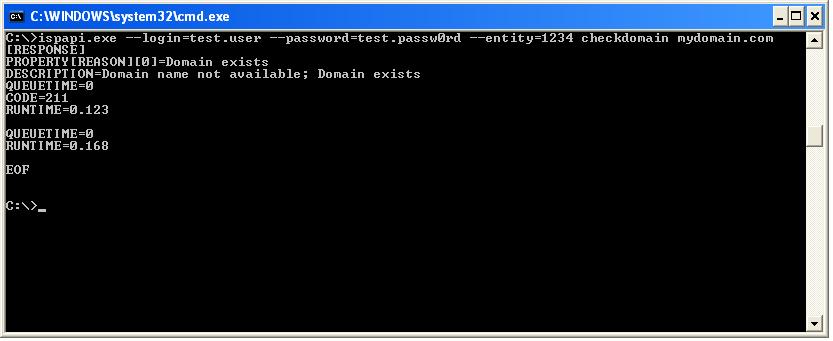
If you don't want to send your credentials with each queries, open the Graphical mode, go to „Settings“ → „API Credentials“ and fill your credentials. They will be saved in a profile file.
Once done, the saved credentials will be used for each queries and the query will look like:
ispapi.exe [command]
Example:
ispapi.exe checkdomain mydomain.com
Mac OS
Graphical mode
Launch the "ispapi" application or launch it over the command-line:
cd ispapi.app/Contents/Resources/
./ispapi.py --gui
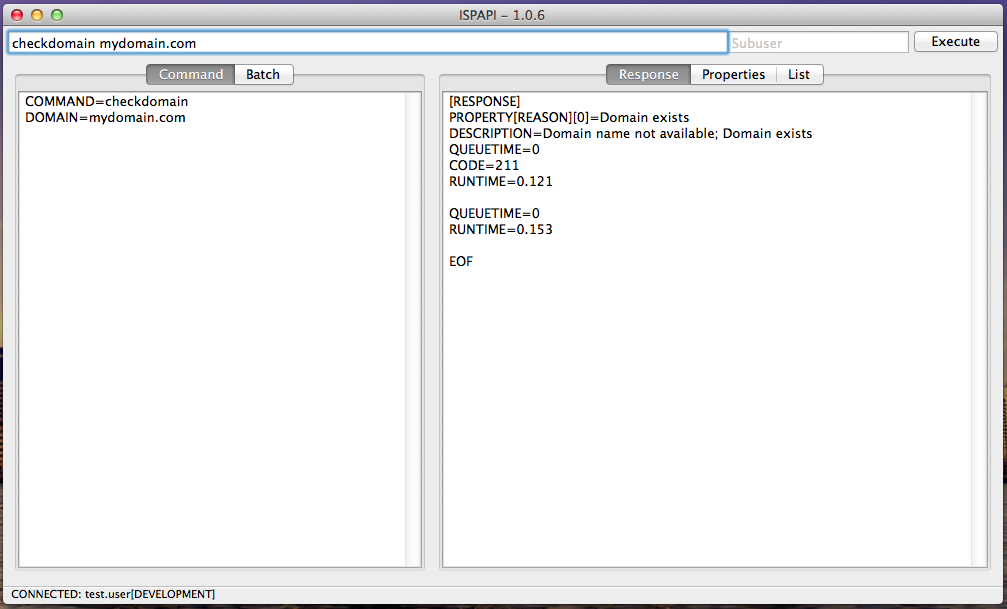
Go to „Settings“ → „API Credentials“ and fill your credentials. They will be saved in a profile file.
Shell based mode
cd ispapi.app/Contents/Resources/
./ispapi.py --login=test.user --password=test.passw0rd --entity=1234 [command]
More details available with: ./ispapi.py --help
Example:
./ispapi.py --login=test.user --password=test.passw0rd --entity=1234 checkdomain mydomain.com

If you don't want to send your credentials with each queries, open the Graphical mode, go to „Settings“ → „API Credentials“ and fill your credentials. They will be saved in a profile file.
Once done, the saved credentials will be used for each queries and the query will look like:
./ispapi.py [command]
Example:
./ispapi.py checkdomain mydomain.com